Brighten Your Business with Customisable LED Neon Signs: A Step-by-Step Installation Guide
If you're looking to elevate your business's ambiance and make a bold statement, custom neons are the way to go! Not only do they add a touch of modernity and vibrancy to any space, but they also offer the flexibility to match your unique style. In this guide, we'll walk you through the simple installation process, ensuring your place stands out from the crowd with eye-catching neon lighted signs.
Why Choose Custom Light Signs
Before we delve into the installation process, let's take a moment to appreciate the wonders of custom neons. These artistic creations allow you to express your brand's personality like never before. Whether it's your logo, a catchy slogan, or a symbol that represents your business, these customizable lights give you the freedom to get creative and let your brand's essence shine through.
The Versatility of Our Neon Signs
One of the best things about our neon lighted signs is their versatility. You can install them using three different methods, depending on your preferences and the layout of your space:
Wall Mounting Kit: Bringing Your Vision to the Wall
Our provided wall mounting kit makes it super easy to fix your neon lights sign to any wall. Just follow these simple steps:
Step 1: Position your neon sign against the wall at the desired location.
Step 2: Mark the spots where you'll be drilling holes for the mounting brackets.
Step 3: Gently drill the holes and add the spacers in.
Step 4: Carefully hang your custom LED neon sign on spacers and tightly screw caps in.
Step 5: Plug it in, and let your dazzling creation light up your space!
Ceiling Mounting Kit: Let It Dangle in Style
If you're aiming for a more suspended look, our ceiling mounting kit is the way to go. Here's how to achieve that floating-on-air effect:
Step 1: Determine the ideal spot on the ceiling to hang your neon lights sign and mark the spots in which you'll be drilling holes for the vertical mounts.
Step 2: Using the provided kit, fix the vertical mounts securely to the ceiling.
Step 3: Grab the wire and feed it through the vertical mounts as well as your neon sign.
Step 4: Plug it in and bask in the warm glow of your captivating creation!
No-Drill Option: 3M Command Picture Hanging Strips
Don't want to drill holes in your wall or ceiling? No problem! We've got you covered with a no-drill alternative using 3M Command Picture Hanging Strips (to be purchased separately at Woolworths, Coles, Kmart, Big-W, Bunnings or Amazon):

Step 1: Clean the surface where you plan to mount your neon sign.
Step 2: Attach the 3M Command Picture Hanging Strips to the back of your custom LED sign.
Step 3: Carefully press the sign onto the desired location on the wall.
Step 4: Admire your fabulous creation without any wall damage!
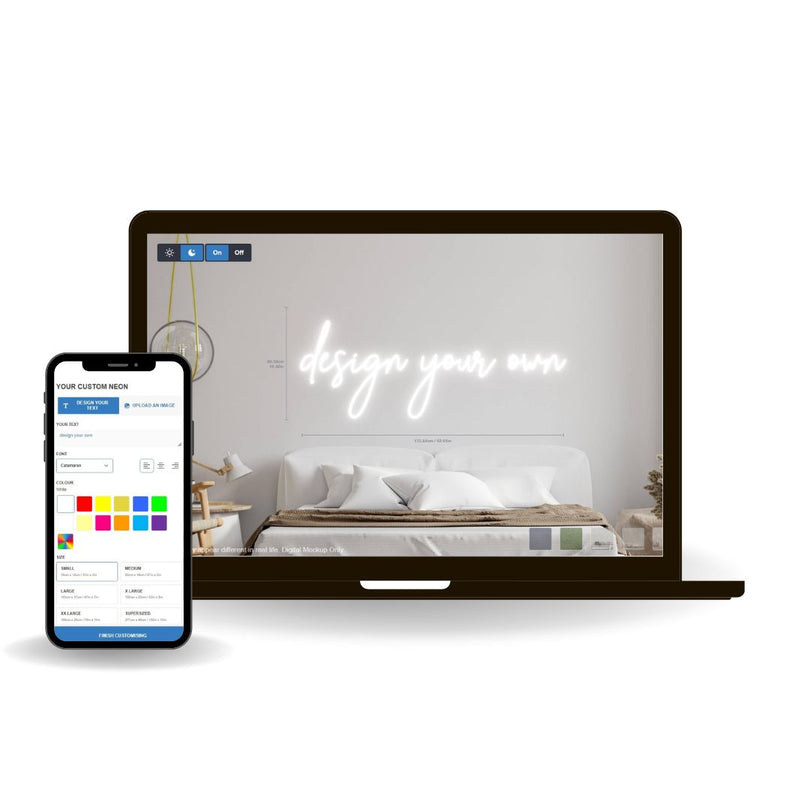
Design Your Own: Unleash Your Creativity
We believe in empowering our customers to unleash their creativity. That's why we offer a "Design Your Own" feature. You can easily customize your dream LED neon sign, selecting colours, fonts, and designs that reflect your brand's identity perfectly.
Wrap Up
Now that you know how simple it is to install our neon lighted signs, it's time to brighten up your business and create a unique ambiance that leaves a lasting impression on your customers. The versatility of our neon lights, along with the ease of installation, makes it a seamless process to elevate your space and showcase your brand's essence.
At Unrivaled Neon, we're passionate about helping businesses illuminate their visions with stunning custom lights. Let us be your partner in bringing your brand to life with mesmerizing neon signs that are as unique as your business. So, why wait? Explore our neon collections to get started on your journey to a dazzling new ambiance!


